Food receiving is the point where a supplier's product becomes your restaurant's responsibility. If a delivery is accepted without checking temperature, packaging, dates, condition, and quantity, the kitchen may discover the problem only after the food has been stored, prepared, or distributed to several branches.
This guide provides a practical restaurant food receiving checklist and a workflow that teams can use for supplier deliveries or transfers from a central kitchen.
What should a restaurant check when receiving food?
A useful receiving check answers six questions before the driver leaves:
- Is the supplier and delivery the one that was approved?
- Did temperature-controlled products arrive within the restaurant's approved limits?
- Are packages sealed, clean, dry, and undamaged?
- Are product names, quantities, lot or batch details, and dates correct?
- Does the food meet the agreed quality specification?
- If something is wrong, was the item rejected, isolated, or accepted under an authorized exception?
The exact limits must follow your local requirements, supplier specification, product risk, and food-safety plan. For example, the FDA Food Code uses 5°C (41°F) or below as the receiving temperature for most refrigerated time/temperature control for safety foods, while also recognizing that another legally specified temperature may apply to a particular product. Frozen food shipped as frozen should arrive frozen and without evidence of previous temperature abuse.
A step-by-step food receiving procedure
1. Prepare before the delivery arrives
Keep the receiving area clean, well lit, and free from waste or returned products. Make sure the calibrated thermometer, purchase order, product specifications, and rejection procedure are available. Assign a trained person to receive the delivery; do not leave acceptance to whoever happens to be near the door.
2. Match the delivery to the order
Confirm the supplier, delivery time, purchase order, product names, pack sizes, and quantities. Unrequested substitutions should not enter storage until an authorized person approves them.
3. Inspect the vehicle and delivery condition
Look for obvious cleanliness problems, pests, chemicals stored beside food, water damage, crushed cartons, or food left exposed. This is a quick visual check, but it can reveal problems before individual cases are opened.
4. Check temperatures correctly
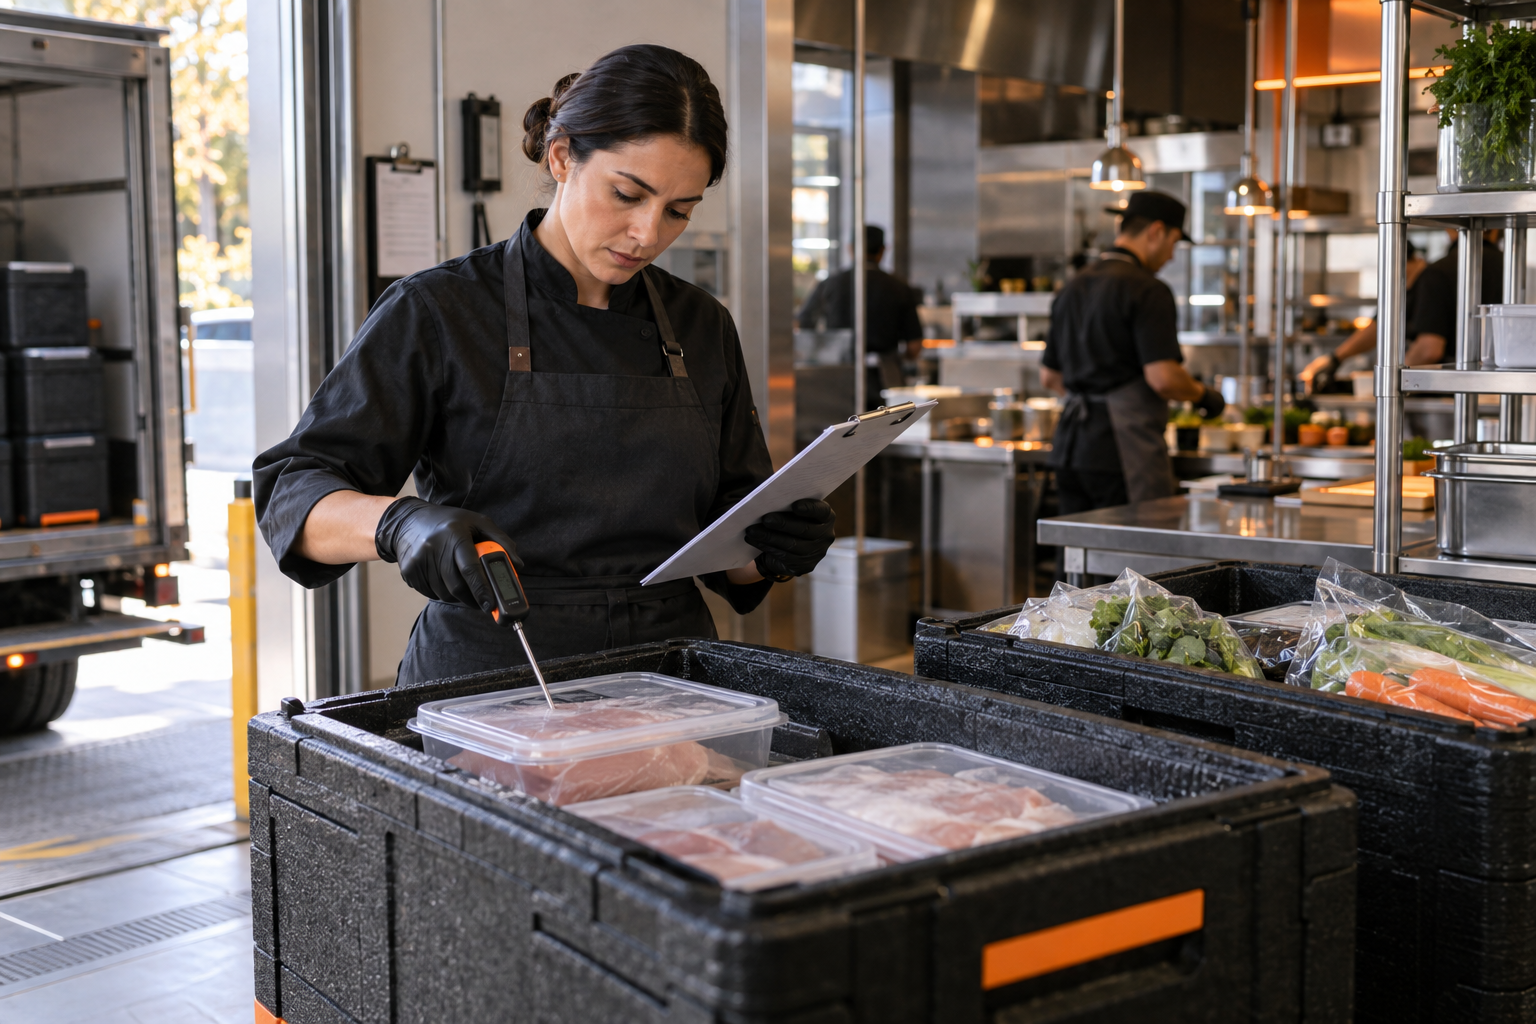
Measure a representative sample of temperature-controlled products using a clean, suitable thermometer and the method defined in your procedure. Do not rely only on the vehicle display or the supplier's statement. Record the actual reading, the item checked, the time, and the person who performed the check.
For broader monitoring after the product enters storage, see our guide to restaurant refrigerator and freezer temperature monitoring.
5. Check packaging, labels, and dates
Reject or escalate products with leaking packs, broken seals, swollen or badly dented cans, wet cartons, contamination, missing labels, or unclear product identity. Confirm use-by or expiry dates provide enough usable life for your operation; a product can be within date yet still be commercially unsuitable if it will expire before the restaurant can use it.
If your team produces and labels its own food, structured expiry tracking helps connect the label to the batch, alert, and final action instead of treating the date as an isolated note.
6. Assess product quality
Check the agreed specification: color, odor, texture, size, ripeness, cut, weight, and presentation where relevant. Quality acceptance is different from food-safety acceptance. A product may be safe but still fail the restaurant's recipe or brand standard.
7. Accept, reject, or isolate
Every checked item needs a clear outcome:
- Accept: requirements are met and the product moves promptly to the correct storage area.
- Reject: the supplier takes the item back and the reason is recorded.
- Isolate: the item is clearly separated and held for an authorized decision; it must not be used accidentally.
8. Store accepted food without delay
Receiving is not complete while chilled food is sitting at the door. Move accepted refrigerated and frozen items into the correct storage promptly, then rotate stock according to the restaurant's system.
- Delivery arrives
- Match order
- Inspect condition
- Measure temperature
- Approve or reject
- Store and record
A realistic receiving example
A central kitchen sends 12 containers of prepared sauce to a branch at 10:30 AM. The receiving employee checks the transfer record, scans the container labels, measures the temperature of a representative container, and inspects the seals.
Eleven containers meet the branch's approved conditions. One seal is damaged and sauce is visible around the rim. The employee rejects that container, records “damaged seal,” and photographs the condition according to company procedure. The other 11 containers are accepted and moved to refrigeration. The central kitchen and operations manager can now see a specific rejection tied to a batch and branch, rather than receiving a vague message later that “one sauce was bad.”
This is where restaurant batch tracking becomes useful: production, quality approval, branch receiving, expiry, and final action remain connected in one operational trail.
What should be recorded on a receiving checklist?
At minimum, capture:
- delivery date and time;
- supplier or sending location;
- purchase order or transfer reference;
- product and quantity;
- measured temperature where applicable;
- packaging, label, and date condition;
- quality result;
- accepted, rejected, or isolated outcome;
- rejection reason and quantity affected;
- name or user responsible for the decision;
- corrective or follow-up action.
The checklist should be short enough to use during a busy delivery but specific enough to support a decision later. A generic checkbox saying “delivery OK” provides little evidence and makes recurring supplier problems hard to analyze.
Paper checklist vs structured receiving record
Paper can work when the process is controlled and records are reviewed. The main risk is not paper itself; it is incomplete, scattered information and no consistent follow-up.
How Shamel supports receiving control
For transfers from a central kitchen to branches, Shamel can connect the production batch, quality approval, receiving decision, expiry information, and branch visibility. A branch manager can approve or reject a batch with a reason, while operational records make repeated rejection patterns visible.
Shamel also supports temperature records, tasks and checklists, operational violations, and reporting. These tools help teams execute and review their own standards; they do not replace applicable regulations, professional food-safety advice, or management judgment.
If receiving is one of several daily controls your branches need to standardize, restaurant checklists for quality control explains how to turn recurring requirements into accountable actions.
Contextual CTA
Want to connect central-kitchen production, branch receiving, rejection reasons, temperatures, and expiry in one operational trail? Request a Shamel demo.
Frequently Asked Questions
What is a food receiving checklist in a restaurant?
It is a documented set of checks used before accepting food, including supplier identity, order details, temperature, packaging, labels, dates, quality, quantity, and the final acceptance or rejection decision.
Who should receive food deliveries in a restaurant?
A trained, authorized employee should receive deliveries. The person needs access to product specifications, temperature limits, a suitable thermometer, and the authority to reject or isolate nonconforming items.
What temperature should chilled food be when delivered?
Use the limit required by local law and your approved food-safety plan. As an international reference, the FDA Food Code specifies 5°C (41°F) or below for most refrigerated time/temperature control for safety food at receipt, with product-specific exceptions.
When should a restaurant reject a delivery?
Reject or isolate a delivery when it falls outside approved temperature limits, has compromised packaging, shows contamination or thawing, carries incorrect or missing labels, has unacceptable dates, does not match the order, or fails the agreed quality specification.
Should every item in a delivery be temperature checked?
The sampling method should be defined by the restaurant's food-safety procedure based on product risk, delivery size, and local requirements. The check must be representative and any suspect item should be assessed individually.
How long should receiving records be kept?
Retention depends on local requirements, the product, the restaurant's food-safety system, and any certification or supplier agreement. Define a retention period that supports traceability, investigations, supplier review, and audits.